Posted Wednesday, 21st March 2012 under Hardware modifications
4 Comments »
Okay, here’s the latest update on my modding to-do list:
- Sega SC-3000H – Completed
- Nintendo Famicom – Completed
- Microsoft Xbox – Completed
- Sega Master System 2 – Completed
- Nintendo Gamecube – Completed
- Arcade – Not started
- Sega Saturn – In progress
- Sega Mega Drive – In progress
- Microsoft Xbox 360 – Not started
Not bad, huh? Since a few things changed up with the modding, I thought I’d give a quick rundown of what happened:
Sega SC-3000H
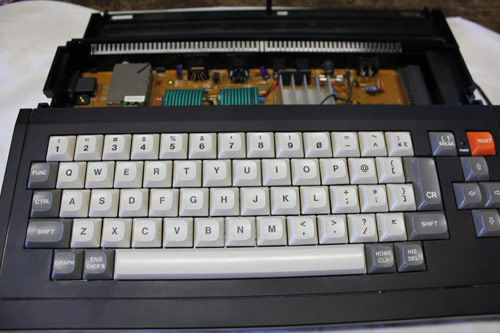
This one was time-consuming rather than difficult. The only drama I had was where one of the pads came away from the PCB when desoldering the old connector, but that was easy to fix by wiring the new cart connector directly back to the trace.
Nintendo Famicom
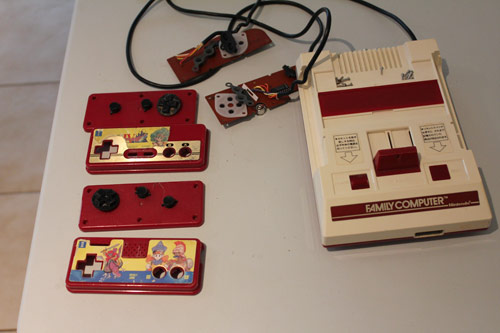
Composite AV mod came off nicely, the controller hum was also an easy fix and the controllers have come up nicely after being disassembled and cleaning the contacts and replacing the membranes (NES membranes fit the Famicom without any dramas). Since the controllers had some charming (but disheveled – see the image above) Dragon Quest sticks on them, I soaked the plastic shells in warm soapy water for a few hours and gave them a gentle scrubbing in some fresh hot soapy water and the stickers, along with their residue, came off nicely.
Sega Master System 2
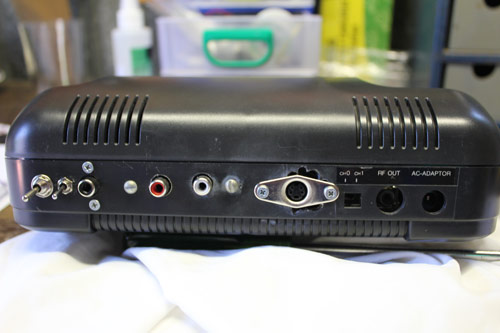
I was working on my original Master System 2 I picked up well over ten years ago when I started getting into retro gaming again. As a result, it was also one of my early mods… actually, I think it was my third one – the Saturn was my first (50/60hz switch, 1999), followed by an unsuccessful SMD1 (language/refresh rate switches, 2000). My SMS2 mod was originally just a 50/60hz switch, then I got a bit more daring and added composite video/mono audio. After that, I decided to add another RCA socket and rewired it for dual-mono out (saved having to add a RCA splitter on the audio socket), and attempted to add a language switch but couldn’t get a clean cut on the IC leg that needs to be modded; these were all done in 2000, with the language switch mod being done ~2001. I also attempted to add s-video to the SMS2, but between butchering the back of the machine to fit the socket (that wouldn’t fit because the hole was hodge-podge and too big – see the image for the unfortunate result even after adding a new s-video socket!) and not having s-video on my TV, I left it at that. Looking at my past work was a little embarrassing, but at the same time it was also heartening as it’s demonstrated how much better I am with a soldering iron now compared to back then. Mind, it also helps that I have better equipment now!
So, as far as the new new mods went, it came off nicely – the simplified s-video mod by Viletim! looked great, with no jailbars visible on my TV (for reference, I used 27ohm resistors, as recommended by fellow modder Mamejay).
I also added the language switch, which proved a bit tricky as my anal-retentivity suggested I didn’t want to leave the leg on the IC floating, so I wired it up to go between +5v and GND off the voltage regulator. When this didn’t make a difference to the games I tested, I went back and thought the error was being caused by the leg on the IC itself, as my butchering of the leg in 2001 actually broke it off at the IC so the solder didn’t have much to hold onto. So out came the rotary tool and I gently ground back the IC around the leg to get started, then manually scraped a bit more away around the leg with one of my precision flat-bladed screwdrivers to get more of the IC leg visible and thus available for soldering. After getting a very solid connection, I went and tested again, and still no luck.
At this stage I was getting a bit angry, so I went and read up a bit on SMSPower, and realised everyone was saying to let the leg float – the tute I was working off just said to temporarily ground the leg, and I just assumed this meant the leg was otherwise getting +5v from the PCB; turns out if I flipped the PCB over and traced the path with my multimeter, I would have found that the leg is normally left floating when in English mode. So, I went and disconnected the +5v line, went back and tested it and voila, it’s working!
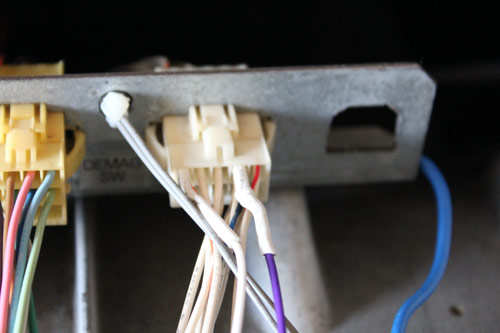
Sega Mega Drive
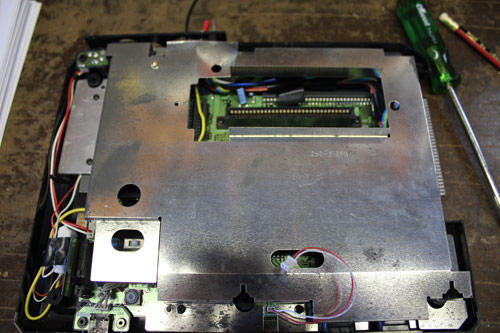
I said in last week’s post that I removed the old oscillator, added in a 12mhz one and had system stability errors. Since I know it’s important to keep clock lines short, I figured I’d jump in and reposition the oscillator by having it close to the switch/CPU and thus create a shorter line of the clock to travel along; I also added thicker-gauge wires to take the +5v/GND from the voltage regulators to ensure the oscillator was fed a good power supply. You can see the “before” picture of where I positioned the oscillator, which is next to the headphone socket. Unfortunately it didn’t make much difference, but I don’t consider it as a wasted exercise, as it’s best-practice to keep the lines as short as possible. Since the oscillator is on a bit of perfboard, it will be easy to desolder the existing component and add a 10mhz oscillator I have on the way. Should only be a 30-minute job, if that – I’m not the fastest at soldering/modding, but at least these days I’m more thorough 😉
Sega Saturn
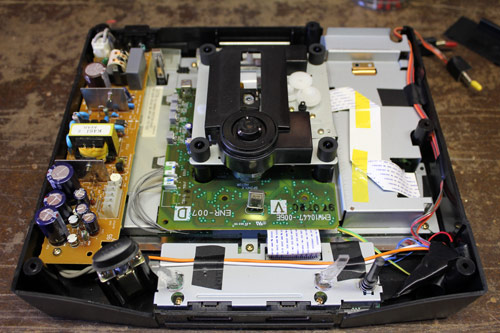
The replacement cart slots are in the post, but I did succeed in adding a 3-way region switch and 50/60hz mod, which is a bit of an achievement for me as I haven’t had much success with the three-way switches in the past. Admittedly the last time I tried doing one of them was back in 2002 or 2003 and in a time where I had less experience and poor tools in comparison to what I have now. I’m very happy with the result, despite the unusual board design (it’s a very early model PAL PCB, with the JPs spread across both sides of the board). I was also able to use the veroboard to provide the +5v/GND for the 50/60hz switch, which helped make things clean. I’ve noticed the power supply on it might be on the way out owing to the rolling bars and CD-ROM issues that hit after an hour or so of testing, so I’ll either look at swapping it with another supply that gives the correct voltages (GND/GND/+3.3v/+5v/+9v) or replacing the caps to see if that helps.
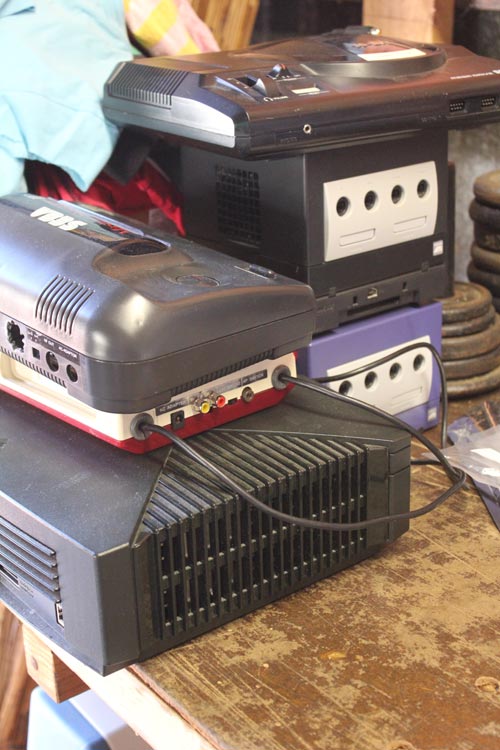
Nintendo Gamecube
I ended up wiring the XenoGC chip to the drive assembly rather than soldering it directly to the PCB. Took a little extra time, but it made it much easier to double-check the solder points with the multimeter and avoid accidental solder-spillage onto adjoining pads.
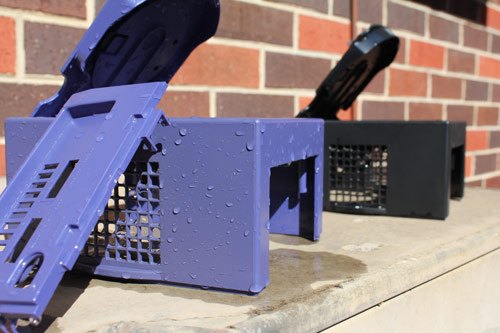
While I had the GCNs disassembled, I gave the outer cases a wash and I also modded my purple Cube to have a shiny blue LED instead of the standard orange one – blue LEDs are fun 🙂
The machines successfully loaded PAL and US games directly, so I’m really happy with the result 😀
Microsoft Xbox
This one was an easy job, but was time consuming to get it setup in the way I wanted. It was also the first time using the Slayers disc to take care of everything (the machine was already chipped), so I didn’t have to worry about popping off the doors to my PC to run the usual HDD tools to prep a machine and found it ran nicely. With everything now configured (including adding the video.bin 0-byte file to the HDD to force UnleashX to run in 480i over component), I’m very happy with the machine. Now I need to sort out a save file for Dead or Alive Ultimate with everything unlocked because I’m lazy 😉
For those curious, I took photos of most of the mods I have done thus far and intend to write up tutes on them at some stage down the track, along with plenty of others I have in the wings.
Anywho, all that’s left now is the SMD1 overclock (oscillator to arrive soon I hope), XB360 DVD fix (need to get a laser assembly sorted) and arcade button wiring. If the oscillator comes in time, I’d say the SMD1 should be sorted this month; the arcade fix is pretty easy as well and should also make it. If the laser assembly for the XB360 comes in this month, I’ll get that sorted as well; can’t see this one happening though, so it might be a job for April.