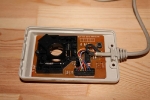
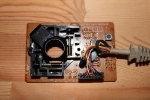
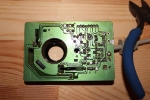
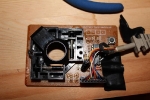
Replacing a broken button on the Amiga mouse

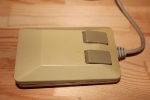
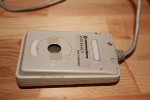
Sorted this out a while ago – I had an Amiga mouse where the left mouse button wasn’t hitting anything when I pressed it. Opened up the mouse and found that the entire switch for the mouse had broken off at some point in its life and hadn’t been fixed. Since tactile micro switches are cheap and abundant (I grabbed a spare off a dead DVD-ROM’s open button), I thought I’d fix it. Here’s what I did:

  1. Flip the mouse over and remove the two screws
  2. Flip it back over and remove the top of the case to reveal the mainboard/PCB inside. There are another two black screws holding the assembly to the bottom case – remove them, and take the board out of the case
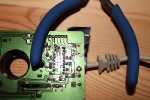
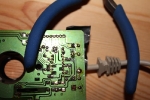
  3. Use your multimeter to determine which ends of the tacticle switch join when pressed and make sure the ground and signal portions of the board aren’t connected when the button isn’t depressed. Once you have it sorted, place the switch in the holes accordingly
  4. To keep the switch in place while you work from underneath the board, use some electrical tape to hold the switch flush to the PCB
  5. Flip the board over so you’re working from the solder-side, ensure your soldering iron is heated and flow the holes with solder and trim off any excess from the pins to keep it neat and tidy
  6. Test the connection with your multimeter, then put everything back together again

And that should do it – a very easy fix, and one that’ll probably work for other computer (or console) mice as well. To give you a hand, I’ve also added an image gallery, or you can just check out the images below.
Belatedly back into it!

Yeah, it’s March – apologies for the delay!

It’s been an interesting couple of months. I’ve been fighting a destabilising sickness that’s been giving me chronic bouts of nausea and dizzyness, and while there’s now a plan of attack after seeing a specialist last week, the last two and a half months have been trying, to say the least.

Anywho, the other reason for lack of updates have been because I’ve been spending most of my spare time when not feeling nauseous and dizzy working on the Astro City, and pretty much have it finished. I’ll be progressive detailing the rebuild process over the next few weeks, as I took stacks of images throughout the exercise. The end result is fantastic and definitely in-line with how I imagined it would turn out. But more on that later.

In the meantime, thanks for sticking with the blog!

Overhauling the Sega Astro City – Part 6, audio update

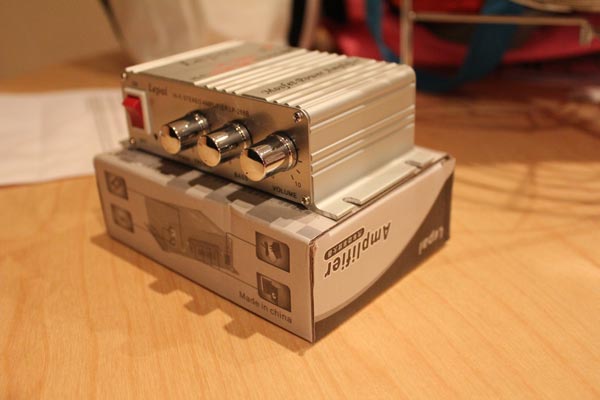
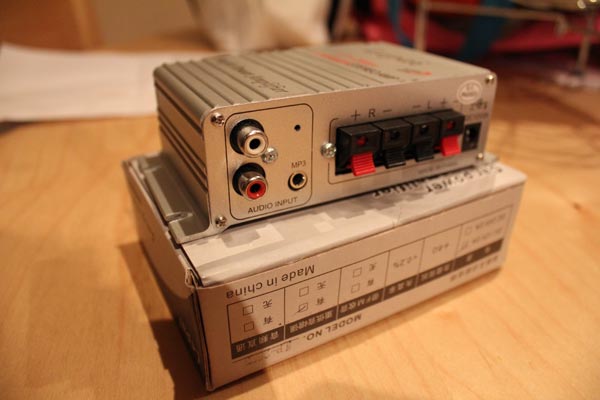
Well, the stereo attenuator I had planned for the Astro is no more – I can get mono attenuators, but not stereo with the level of performance I’m after. The solution? One of these:

Mini stereo amp - front

Mini stereo amp - rear

It’s a cheap mini stereo amp. In fact, it’s so compact, it’ll fit nicely inside the flip-up control panel on the Astro, so it’ll be easy to operate.

I wasn’t sold on these mini amps, but after reading some recommendations from other people who have used this same model on Aussie Arcade, I thought I’d give it a whirl. Considering the cost ($15!), I’m pretty happy with the outcome. Should work well to amplify both the mono amped output from the JAMMA harness, or the stereo line-out that needs amplifying.

As noted before, posts on the refurb are being done ad-hoc, so to keep track of the whole project, just use the Sega Astro City Overhaul tag, as the whole series will be added to it over time.

Belated Sakura Wars: So Long My Love gallery

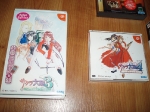
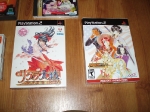
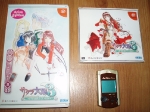
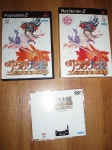
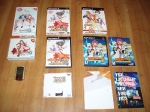
So, NIS released the bilingual Sakura Wars: So Long My Love back in… April? I actually grabbed it on pre-order back then and took a handful of pics to celebrate its release, along with other Sakura Taisen games I have lying about. Full gallery is below, or you can check out the dedicated page as an alternative.

Big update to the Gaming Sessions gallery

Just another quick one – I’ve finally gotten around to updating the metadata (where possible) on the gaming Sessions galleries, including a couple from last year, what I got up to over Easter and some Panzer Dragoon Saga blurry pictures. A number of the images under some of them aren’t recording all the metadata details for whatever reason, but it’s all there.

I’ve recently grabbed a video capture card as well, so this will mean the May 2010 gallery will be the last of the blurry low-res images ๐Ÿ™‚ It also means I can capture video footage for future posts. Of course the only source I can’t capture is the arcade cab, but I’m looking at mounting the digital camera on something for future posts for clearer pics without the frantic snaps I usually take between rounds/hadoukens/etc ๐Ÿ™‚

As always, everything’s over in the Image Galleries section.