Posted Monday, 9th May 2011 under Arcade cabinets
Comments Off on Overhauling the Sega Astro City – Part 9, customising the JAMMA harness
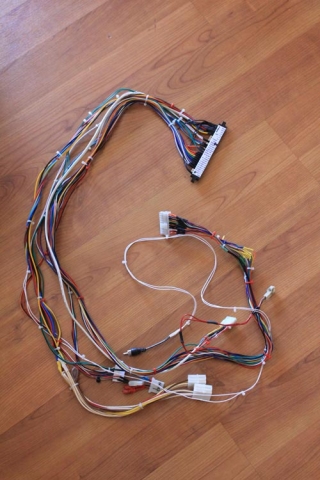
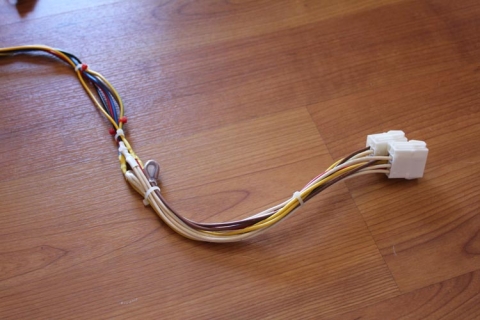
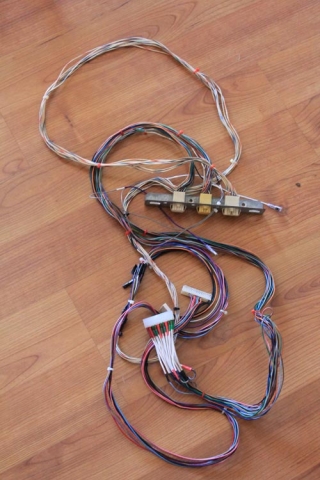
Because of the number of molex connections in the Astro City, and my desire to make this overhaul modular, I gave the JAMMA harness a hefty session or two with the soldering iron to get my desired outcome. The following is a full-length shot of the completed harness:
Audio mod
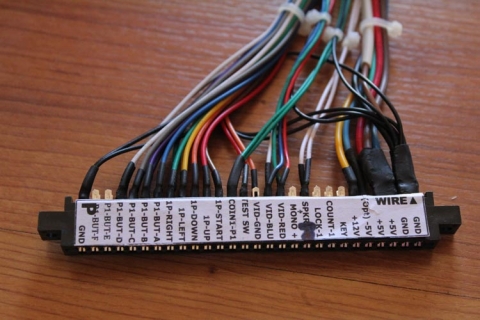
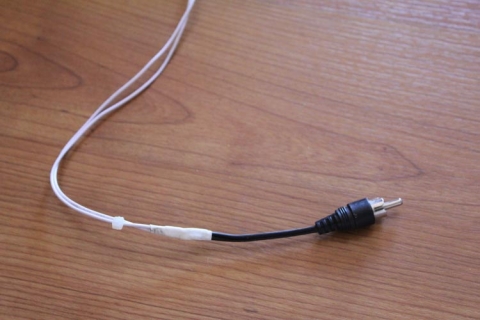
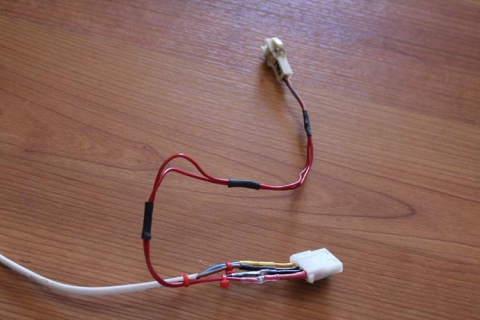
To fit in with the control box, the JAMMA harness takes the audio-out and puts it into an RCA connector. The positive or center pin takes the source from pin 10, or speaker +. The shielding/outer connection is actually a ground connection from any of the ground points on the harness. Astute observers will notice in the title pic that I have cabling coming from pin L, or speaker -, which I originally used in this mod, which was a bad idea! Had garbled audio and resetting PCBs. Thanks to Hewitson and the community at Aussie Arcade for that one, they steered me back in the right direction 🙂
-5v, ground and fan connections
This molex connection takes the -5v, ground and fan 12v output from the control box and feeds it into the JAMMA harness. This fan connection is another molex connector (2-pin) so that a fan can be connected if necessary, and as all the power comes from a separate connection to the PSU, it’ll remain constant regardless of the setup.
JVS to JAMMA power modification
The PSU in the cab is a SUN PSU, so the power connections are JVS standard. To accomodate this, I hacked a spare JVS extension cable and connected the +5v, +12v and ground to the relevant connections, and beefed up the wiring on the harness. By default it only had a single wire for each of these connections, so I added three additional wires to the +5v to help with the load for power-hungry games. I terminated the 3.3v wires on the extension cables with heatshrink tubing to keep it electrically safe.
Test and service buttons
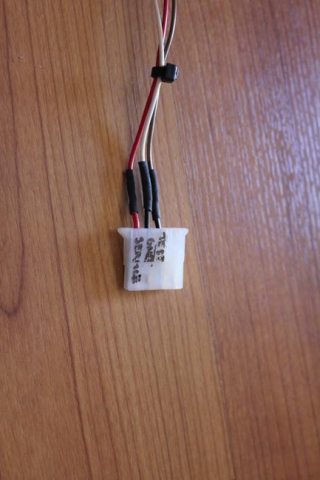
The test and service buttons are pushbuttons mounted underneath the control panel on Astro City cabs, so I terminated these connections along with a ground feed from the harness to allow easy connections. At the other end, I rewired the existing switches and cleaned them up so that they connected accordingly.
Coin slot connection
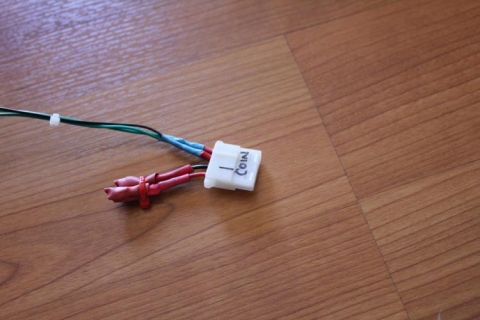
Similar to the service and test switches, the coin slot connection uses molex connections at either end. Inside the cab, the coin slot is also wired in parallel to a push button so that credits can be added without having to use coins. Handy, as I don’t have any ¥100 coins!
Controls
This was the biggest and scariest job – I chopped off the old molex connector after I manually used my multimeter to go through and check every connection on the molex connector, and its corresponding connection on the JAMMA harness. After doing this, I re-wired everything to the new JAMMA connector. The Astro City has every connection running through a couple of molex connectors, which then feed to a master connector that goes to the harness. The system worked, even if it was a little anally retentive, so I wanted to preserve this. This one connector took ages to put together, but I was really happy when it all worked 😀
Existing connections
This is a long shot of the wiring mounted underneath the control panel – the metal bracket holds three molex connections – one for player 1 controls, one for player 2 controls and one for the JAMMA+ (buttons 4, 5 and 6) for both players. On the bracket are also mounting points for up to three small push buttons, labelled for test, service and degauss. As the degauss switch is on the external panel from the chassis, it isn’t used in my setup.
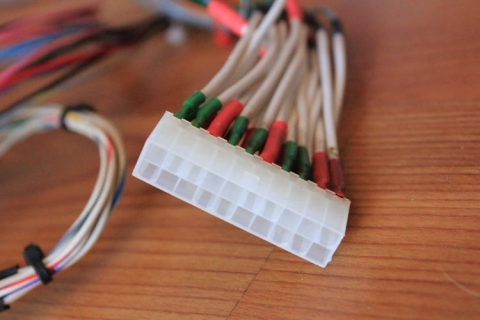
That final image is the female molex connector for the controls – a scary prospect to wire up! This feeds the P1 and P2 controls into the Astro.
The only other change I made was to have button 4 off the JAMMA harness for P1 and P2 be re-added into the master molex connector, and then have the female connector run extended lengths with quick-connects on that allow me to re-wire the control panel as required. This allows for quick and easy button changes when playing Neo Geo titles, for example.
As noted before, posts on the refurb are being done ad-hoc, so to keep track of the whole project, just use the Sega Astro City Overhaul tag, as the whole series will be added to it over time.
