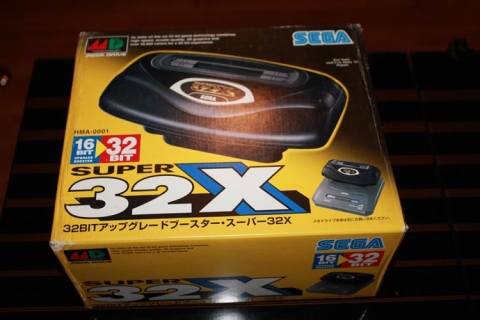
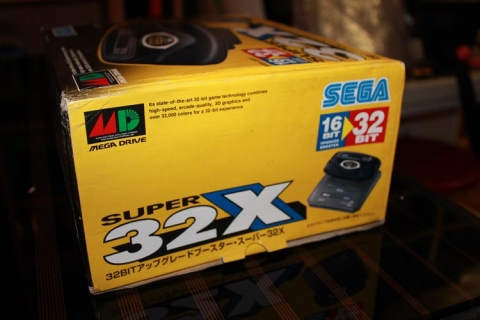
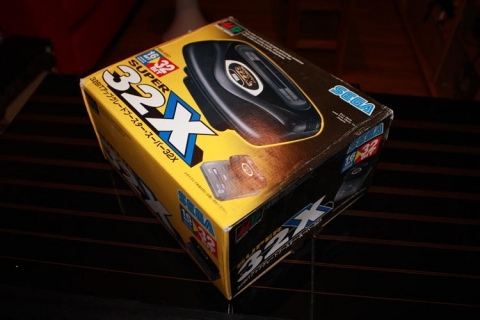
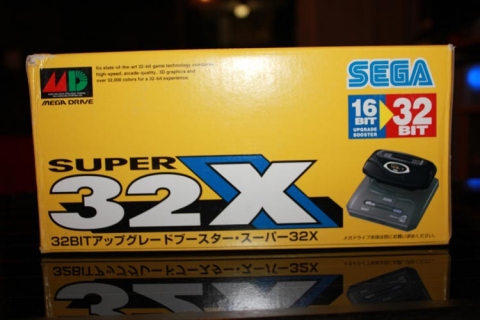
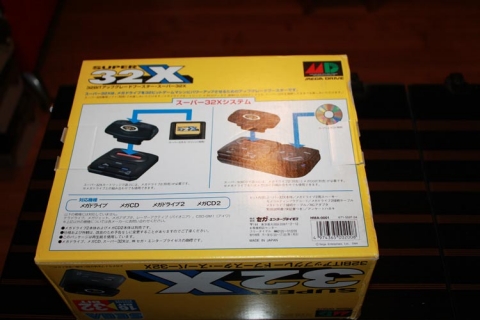
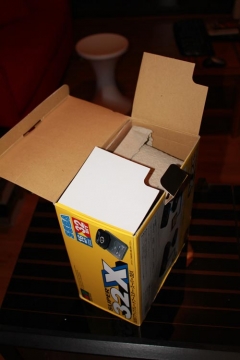
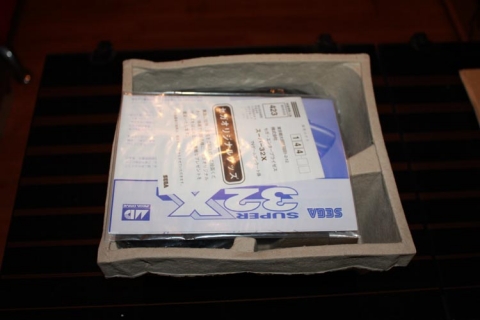
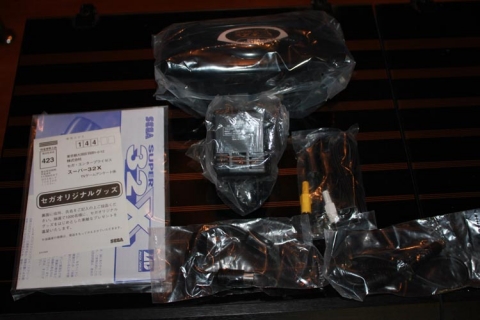
Unboxing a brand new Sega 32X!

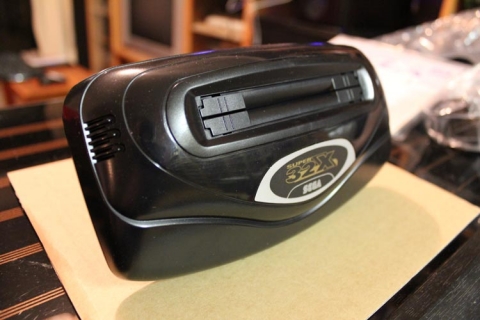
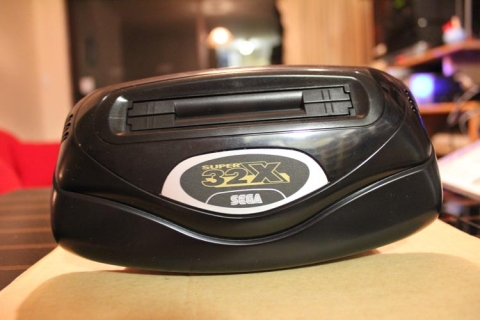
Thanks to a tip from a fellow gamer (Hi Frank!), I have recently taken possession of a brand new Japanese 32X!!

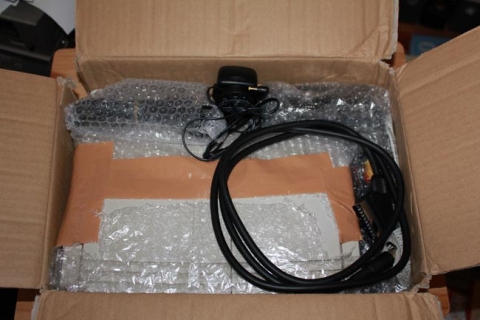
The box was actually in very good condition given the age of the hardware, with only a few creases and dents here and there. Everything inside was brand new and complete – 32X console with the spacer (required for hooking it up to a Sega Mega Drive 2), AV-out cable, AV-in cables (including the Sega Mega Drive 1 converter cable), AC adapter (not of much use since it’s Japanese and runs on 110v) and manual. Oh, and all the original cardboard inserts, too.

As much as the 32X was much-maligned, I still have a soft spot for it. There were a handful of interesting games on the console, and back in 1994 I remember being pumped about the machine. I never ended up getting one though, as I couldn’t afford it at the time. I do remember the local Big W were clearing them out for $20 a pop in 1996, but I couldn’t get a lift from someone to get me to the nearest store in order to buy one and ended up using the money to buy something more useful. Hopefully. At that stage I would have started gaming on the SNES and was possibly starting to save for a Saturn. So, let’s assume I did something useful with that $20. I might have even used it for some gaming at Timezone Meridian. Timezone is now a shell of its former self. Here’s the Wikipedia page. It fails to mention Timezone Meridian, even though it was a building full of amazement in the 90s. Even Archive.org only goes back to 2001; would love to see some earlier archives.

Anywho, to share the love I thought I’d post an unboxing (click any of the images for a larger view with comments):

🙂

Now all that’s left is to grab an AC adapter to suit, an RGB cable to hook my machine up to my transcoder and some games. Can’t wait!
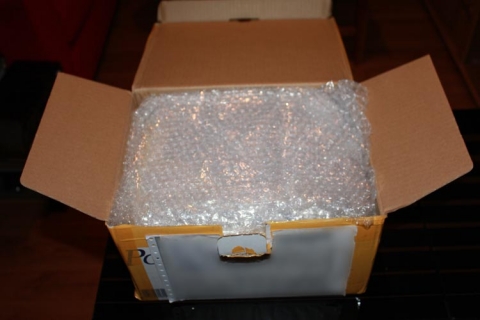
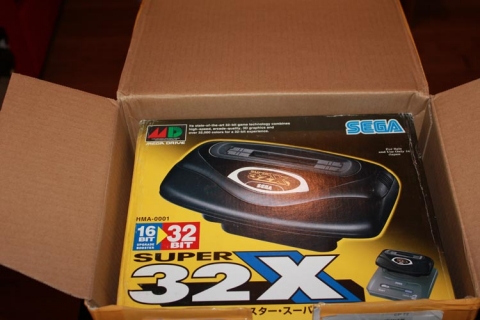
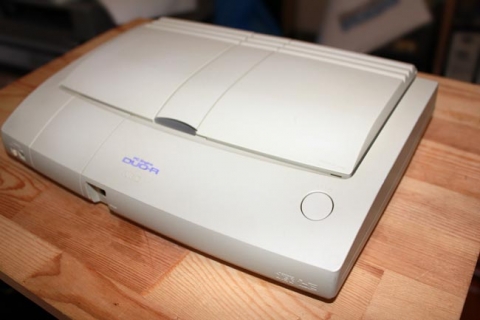
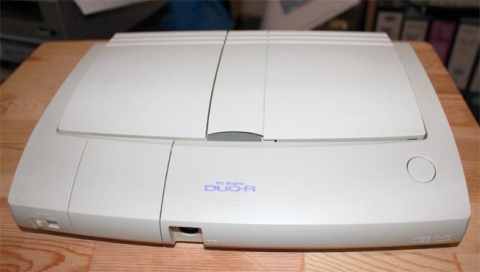
I picked up a PC Engine Duo-R :)

Last year I became a member of the nerdy PC Engine fanboy community with the purchase of a PC Engine Duo-R pre-modded with RGB for super-awesome video output 😀

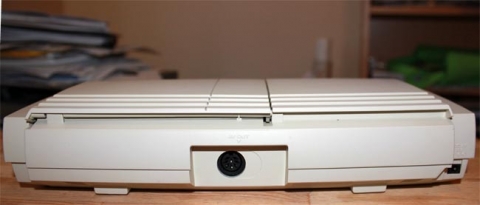
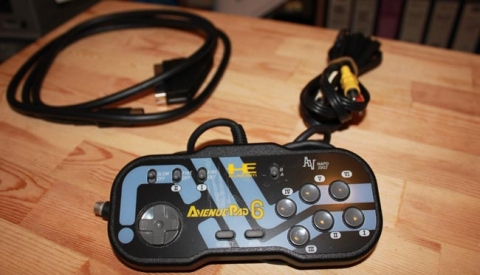
Admittedly it’s a bit late, but here are some pics to enjoy!

Unboxing the Duo-R:

Angled shot:

Front shot:

Rear shot:

NEC Avenue Pad 6 and cables:

All these and more images are up in the PC Engine gallery.

Getting component video out of a Sega Mega Drive (works for other RGB signals as well!)

Update: Some HDTVs aren’t compatible with low-resolution (240p) video signals via component video, something I’ve discussed in more depth in a recent post.

This topic has come up a few times on one of the forums I frequent so I figured it couldn’t hurt to post a quick how-to if anyone else is interested in a no-solder solution for getting component video out of a Sega Mega Drive, something that’s particularly handy if you have display devices that can’t take RGB via a SCART cable (like yours truly!).

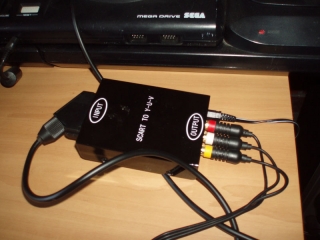
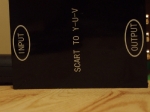
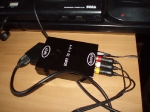
The concept’s simple – grab a RGB signal out of the Mega Drive, run it through a transcoder, display on your TV. The trick was finding a box that could do it, as a simple input converter won’t do the trick, you need to transcode the signal on the fly for it to work. Previously this has been a bit pricey to do, but with eBay and other stores flooded with a stack of RGB to component (or YUV if you prefer that acronym instead) converters, it’s not too difficult to track one down, especially following GameSX’s excellent wiki entry on the CSY-2100 chipset.

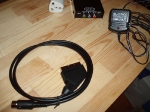
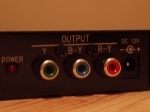
So, on with the simple tute – grab a decent RGB SCART cable (I got mine from an eBay seller in the UK called pcenginesales, excellent product, price and service), ensuring the cable’s carrying RGB and not just composite video, a transcoder (mine came with a UK 12v AC adapter, so I just added a power point converter to it since we run 240v locally as well), three RCA cables (colour coded if it helps, I had a spare set of composite AV cables that did the job fine) and an extra spot on your power board for the AC adapter.

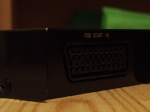
As for method, dead easy again – plug the SCART cable into the rear of the Mega Drive, fire the other end into the SCART input on the transcoder, connect your RCA cables into the transcoder’s YUV outputs, then run them to your TV/AV receiver/etc.

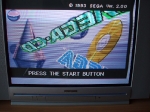
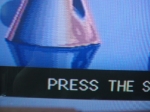
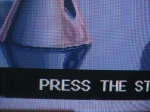
The end result is an extremely clean and beautiful picture that gives an indication of what a true RGB signal can look like as a component video output. I’ve posted some comparison shots below that go some way to demonstrating the improvement, but you really need to see it to believe it.

And as an added bonus, flicking the Mega Drive into 60hz won’t affect the colour output, as the transcoder’s grabbing the signal from the RGB outputs on the CXA1145 encoder and not the signal from the composite output. While you can go to town on the Mega Drive’s internals to get colour output on RF/composite/s-video output (I’ll add a tute on how to do that in the not too distant future), this is a simple no-solder solution that gives great video quality. It’ll of course cost a bit more than doing the internal mod, but I love the results.

I did notice that at times the colour flickered a little on my unit, but I had a hard-wired composite connection I added to the back of my Mega Drive, and once I hooked that into my switchbox for the hell of it, the flickering via the component video stopped. Not sure the issue – could be noise from the transcoder or switchbox, weird pulses in the Mega Drive due to the mods I added to get colour in 60hz via composite/RF/s-video, might be something else entirely. Probably won’t affect you, but there you go.

For the visual tour, see the gallery below!