Overhauling the Sega Astro City – Part 11, rewiring the cabinet
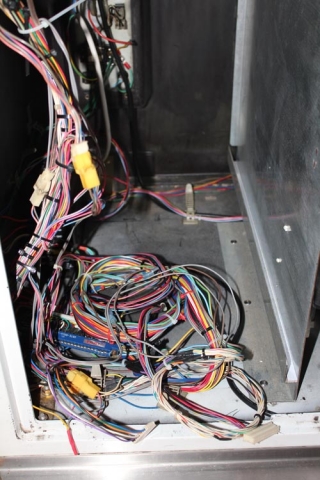
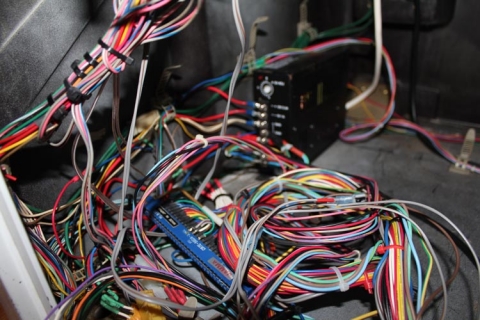
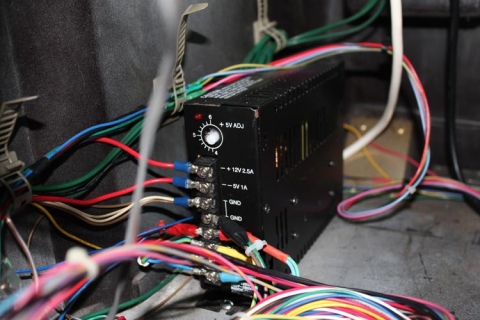
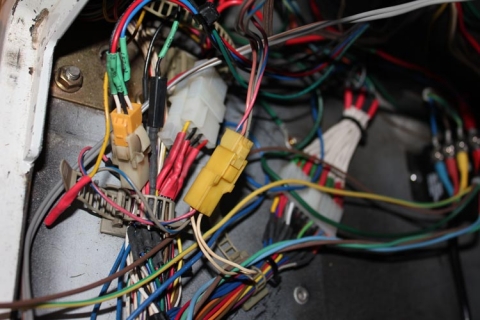
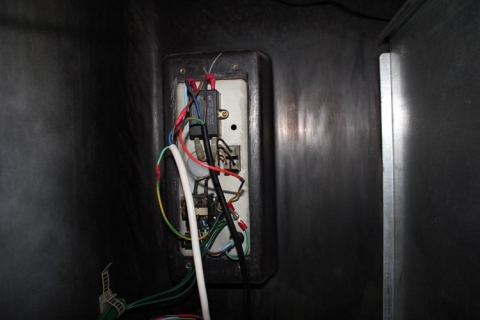
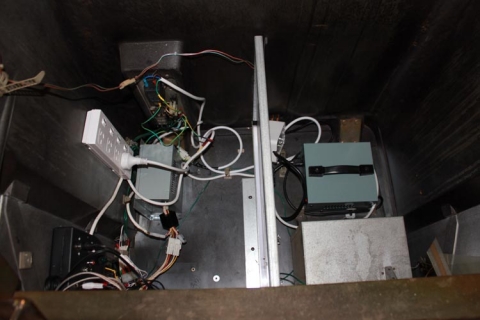
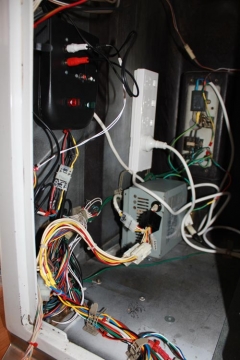
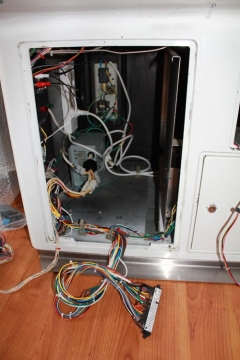
This one is best told in pictures. Let’s start with the before:
Looking inside the cabinet from the outside:
Closer up:
Power supply in focus this time:
Molex connections galore:
And the AC wiring, complete with heatshrink tubing and solder for the spliced connections:
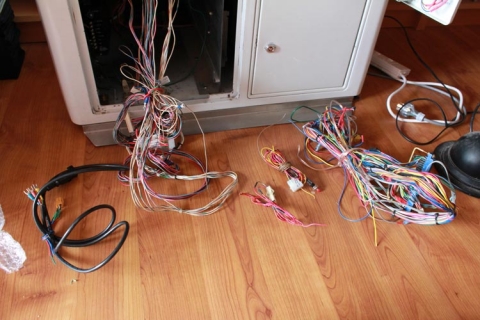
Here’s the aftermath, with all the control panel wiring intact (since it will be reused), and all the excess wiring removed:
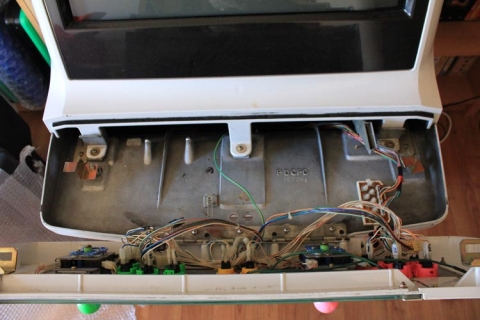
And for the sake of completeness, here’s the control panel without the bracket that houses all the molex connectors:
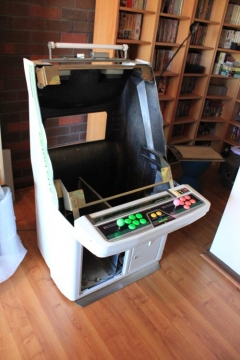
Now that all the wiring is out, next came the step of stripping everything out of the cab – the outer layers were removed that hold the bezel and speakers, exposing the fluro tube, and the monitor in its entirety (cage included) was also removed. To open up the insides for working, I also removed the partition that holds the PCB holder and separates the two halves of the cab. It really is looking like a shell now.
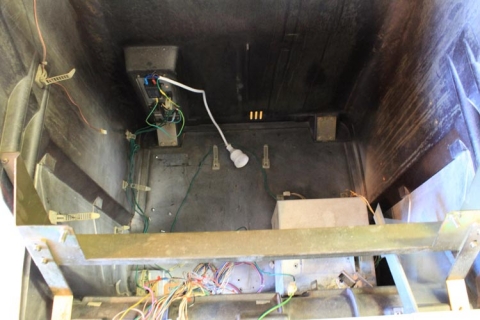
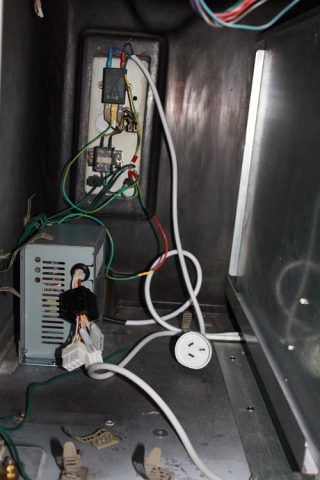
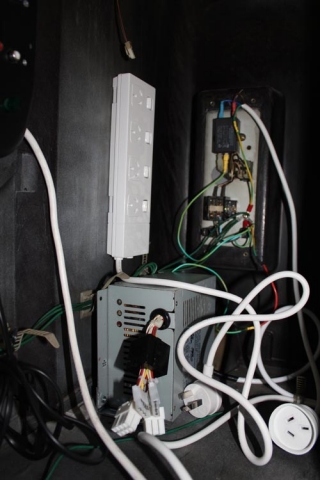
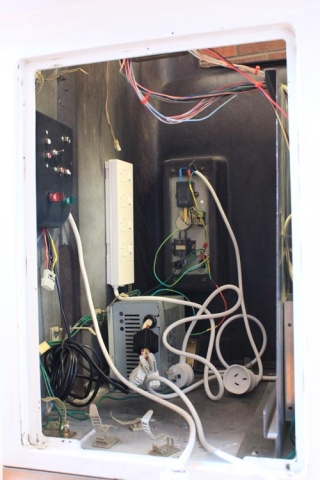
So, let’s start the refit – here’s a shot of the inside of the cab with only the new AC wiring present, with everything terminating to a female socket for ease of use:
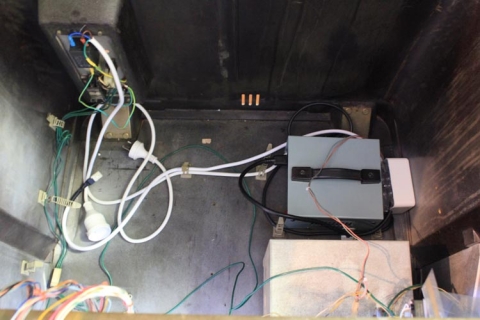
Next up, add the step-down transformer to the partition to the right:
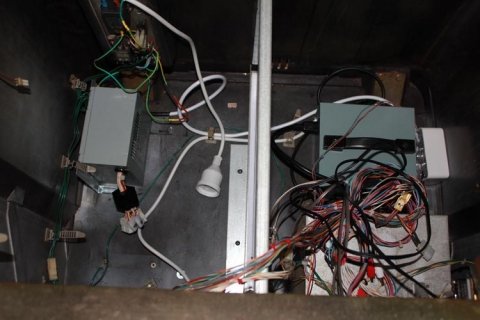
Add the partition to the cab and mount the SUN PSU into place; it’s positioned to allow for thick PCB boards, the MAME PCB or CPS2 setups, but still retain access to the unit for adjusting DC voltages:
… and another shot:
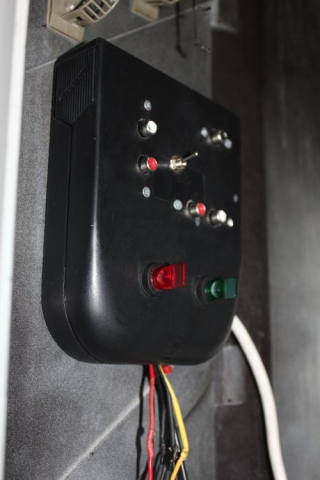
This next show shows the control box and the power board attached to the side of the cabinet:
The following closeups demonstrate when the control box and power board sit:
… and another:
… and another one:
Almost there – the JAMMA harness has been added, molex connections are complete and cable-tied close to the frame, JAMMA harness is hooked up and some RCA connections have been added for the output on the control box:
And there we go – all finished and much neater than before!
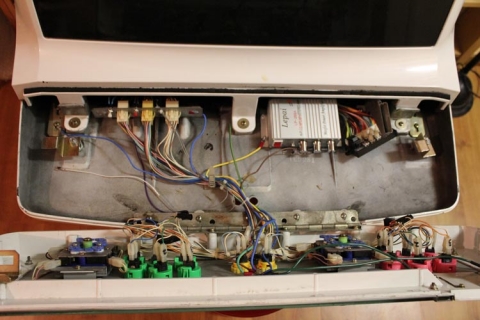
That takes care of the cabinet, but what about the control panel? We can’t forget that! Here’s a shot with the amp installed with all the wiring to the speakers and control box completed and the bracket re-installed:
And here’s the final shot with extra earth wiring grounding the monitor frame, amp, bracket and the coin slot chute/coin box:
Bit of a marathon run, but it came out really well. Next up – the new monitor!
As noted before, posts on the refurb are being done ad-hoc, so to keep track of the whole project, just use the Sega Astro City Overhaul tag, as the whole series will be added to it over time.
