Overhauling the Sega Astro City – Part 12, replacing the monitor
Of all the aspects of the overhaul, replacing the monitor was the one I was dreading. The big 29″/68cm tubes are heavy, you have to be careful discharging the tubes and I was worried about scratching the new screen 🙂 To my surprise, it actually wasn’t too tricky.
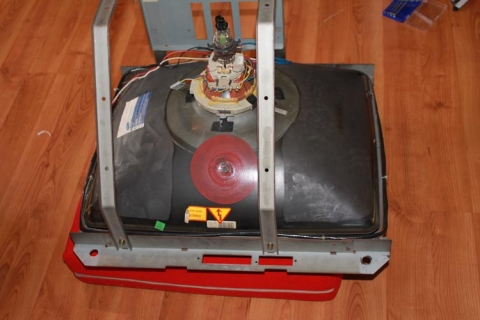
First up, the monitor (i.e. tube, chassis and mounting cage) had already been removed from the cabinet while I was rewiring it. I discharged the tube safely, grabbed a cushion off a nearby couch, and gingerly laid it face-down on the cushion so I could work on the cage and chassis without worrying about cracking the tube:
After using my capable screwdriver that will allow the shaft to bend at 45° and 90° angles and treating it like a wrench with a big phillips head screwdriver tip, I managed to remove the cage from the tube:
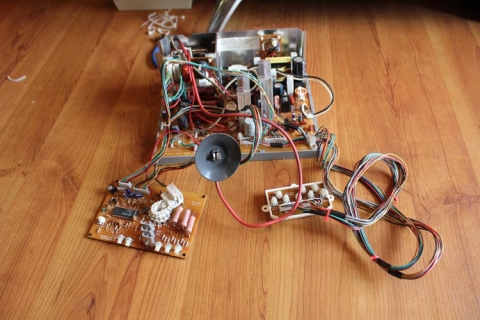
With that finished, here’s the chassis I removed the chassis from the cage before starting on the tube:
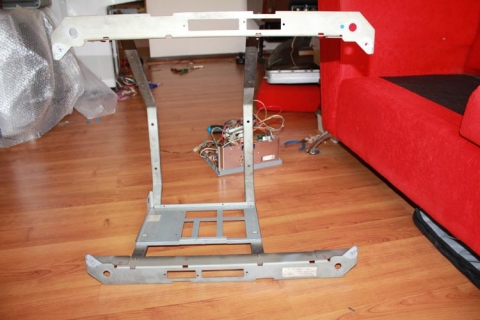
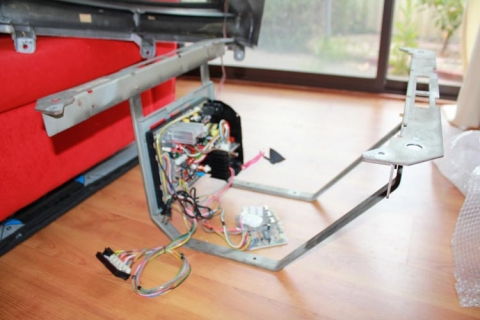
This left me with a nice empty cage to work with:
Next up, I grabbed the fresh, shiny Universal Chassis I ordered a while back for this job. I sourced the chassis from Jomac, who happen to be an amazing team to work with, provide expert advice and offer extremely competitive prices (in other words, they come extremely highly recommended). I then mounted the chassis to the cage like so:
Easy.
Next up came decasing the tube. I was able to source a Teac 68cm TV circa late-90s/early 00s from my parents that was perfect for the job – 68cm tubes are an almost 1:1 replacement for 29″ arcade tubes and are amazing quality. Paired with a Universal Chassis solution from Jomac, and I had a dual-resolution 15k/24k monitor for the price of a chassis, no need for factoring massive costs for sourcing arcade tubes.
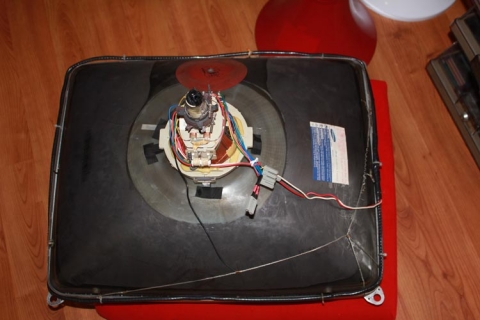
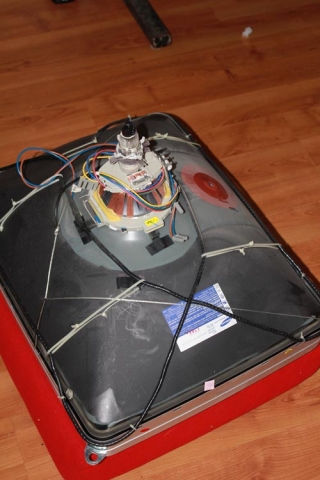
Anywho, the tube was safely discharged and I repeated the same process as before – gingerly lower the whole TV onto the cushion, then begin de-casing it:
A bit of patient gruntwork later, and I’m left with the tube on the cushion awaiting the cage:
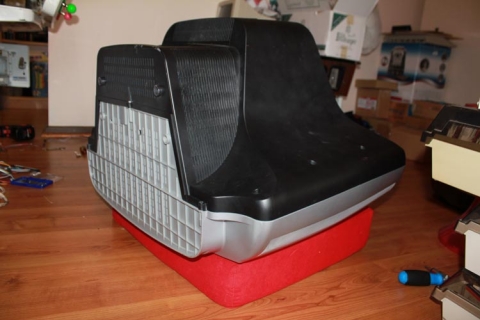
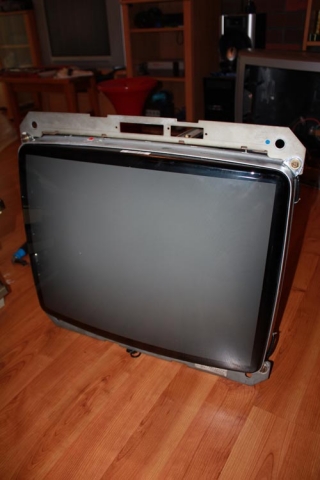
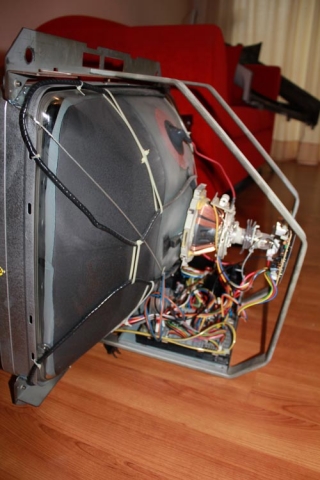
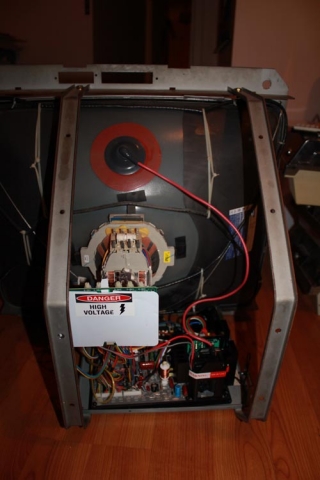
Simply mount the tube to the cage very carefully, ensure all the connections are solid, and I went about wiring up the degaussing coil, yoke connections, mounted the neckboard and ensured all the ground connections were fitted. This is the end result:
Front –
Side –
Rear –
The whole process probably only took 30-45 minutes, including discharging the tubes again at the start of the session – I had previously discharged them the day before and did it twice during the session to be extra careful with them.
All that’s left now is to plonk the monitor back in the cabinet, fit the front cover including the bezel, connect all the wires and run a smoke test, then the cabinet will be complete. Expect that report in the following (and hopefully final!) part in this series 🙂
As noted before, posts on the refurb are being done ad-hoc, so to keep track of the whole project, just use the Sega Astro City Overhaul tag, as the whole series will be added to it over time.
