Posted Monday, 21st March 2011 under Arcade cabinets
Comments Off on Overhauling the Sega Astro City – Part 7, working on the MAME PC
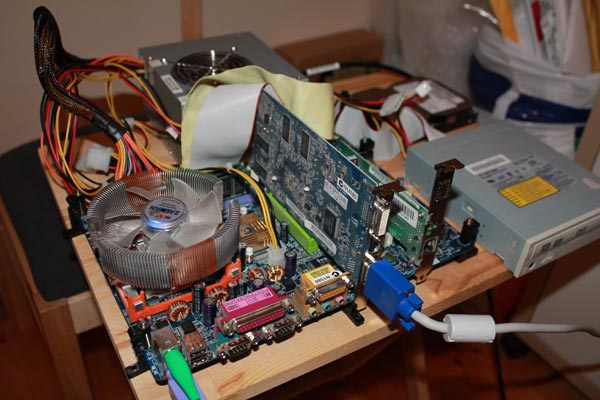
As part of the Astro City overhaul, I wanted to recycle my old P4 hardware and use it on the Astro City. To get there, I’ve installed WinXP since I still had the license valid for this PC, along with MAME 0.128 that I had handy, and will use GameEx as the frontend. The following are the hardware specs:
CPU: Pentium 4 Socket 478 3.2ghz CPU with Hyperthreading
Motherboard: Gigabyte GA-8S648FX
GPU: Gigabyte ATi Radeon 9600XT w/256mb RAM
RAM: 1gb DDR-400
HDD: 40gb Seagate IDE HDD
Network: 10/100mbps LAN NIC
As you can see, it’s nothing terribly powerful by today’s standards, but it’ll have enough juice to run classic sprite-based games, which is what I wanted. The beauty is that with the LAN card, I can remote into the machine once the initial install’s done for maintenance and setting up programs.
To interface the PC with the cab, I’m going with a J-PAC interface, which takes the VGA and PS/2 sockets from the PC and puts them into JAMMA standard so you can simply connect the PC to the cab via the JAMMA harness. You need to push the video card into outputting a 15k signal though, which can be done on most ATi cards by using Soft15k, and it worked fine for my setup.
Special note to all J-PAC users though, be sure to set the jumpers on the J-PAC PCB to 15k – I was getting a rolling picture when I first booted and thought something was wrong with the video card or the chassis. I powered off the PC and set the jumpers as per the below, which also happens to be the configuration Ultimarc (the manufacturer) suggest you use 😛
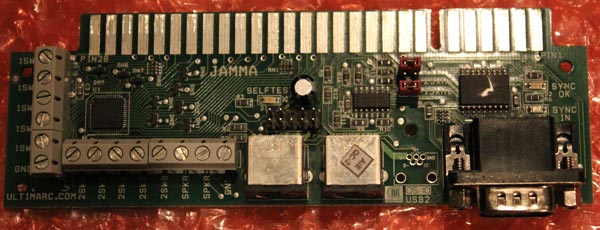
… and it worked fine after that 🙂 The only other issue is audio, but since I’ll have an amp in the cab as part of the overhaul, I’ll just have a 3.5mm headphone socket to stereo RCA cable ready to plug in and run it that way. Sorted!
As noted before, posts on the refurb are being done ad-hoc, so to keep track of the whole project, just use the Sega Astro City Overhaul tag, as the whole series will be added to it over time.