Posted Monday, 12th October 2009 under Arcade cabinets
Comments Off on Rotating the monitor on my Sega Astro City
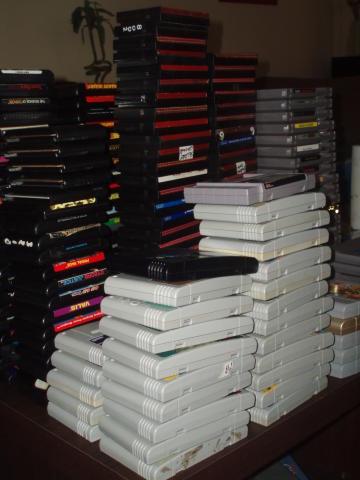
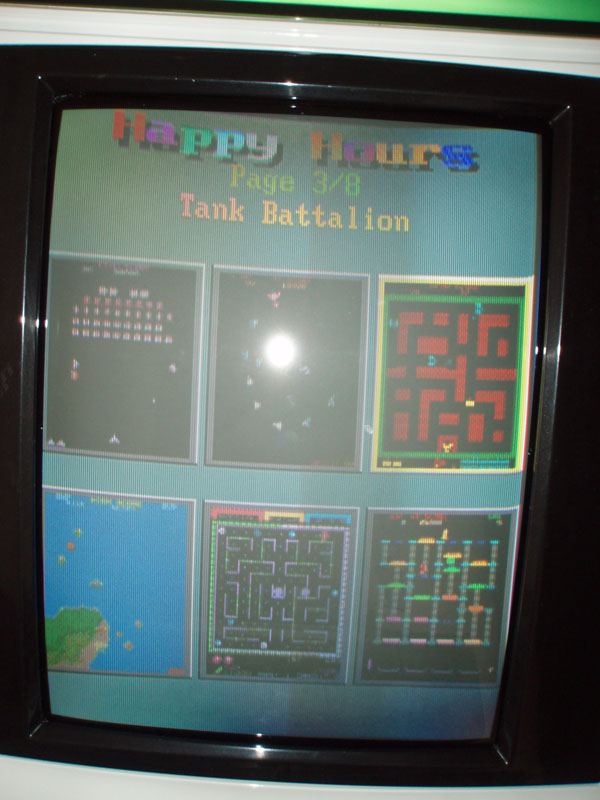
Finally got around to rotating the monitor on my cabinet on the weekend – my father-in-law was staying with us for a few days, and since he was keen to give Galaxian and Galaga a go (and those are on the 48-in-1 I picked up a while ago, along with plenty of other classics!), it wasn’t too hard to convince him to give me a hand rotating the monitor since I’m not strong enough to do it on my own 😉
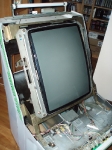
Anywho, it wasn’t too tricky – simply take off the shroud by flipping open the control panel, remove the screws holding the plastic housing down, unhook the connection to the speakers (mine was easy to disconnect with a handy molex connector), remove the screws and two plates on the back of the cab (the top panel hides the fluro tube and the speakers, the next one down hides the access to the monitor chassis), then slowly lift the shroud off. Next up, I disconnected the cabling between the RGB lines from the JAMMA connector from the chassis, then tested the AC line to the chassis (plenty of give) and removed the screw that were bolting the cab to the frame. Next up, lift and turn the monitor clockwise or anti-clockwise (erm, I can’t remember which… 😉 ) and re-sit it on the bolts and wind them up again. If you’d like me and the image is upside down, don’t panic – I unplugged the yoke connector on its existing socket on the chassis and plugged it into the other one – fixed it right up (though don’t forget to disconnect the power between these tests!!). Once all that was done and it survived the smoking tests, I wound the voltage on the PSU back to +5v flat without a JAMMA board connected, plugged in the 48-in-1, wound it up to +5v on the mark, tested it up, and bam, worked fine! Mind, the monitor needs a really thorough degaussing, so I’ve added a degaussing wand to my “to-get” list to fix that up.

Anywho, on Sunday I jumped in and started messing with the DIP switches, and have it all nicely configured. Also started messing around with the gate on my Sanwa sticks, but that’s something to discuss in another post 😀
The important bit, though, is that it was awesome fun to play through the classic games 😀 My top pick at this stage is either Space Invaders or Shao-Lin’s Road 😀 😀 😀
If you want more pictures of the cabinet and rotating it, you can view them in the new arcade stuff – cabinets gallery.