Overhauling the Sega Astro City โ€“ Part 8, building a control box

Today I’m going to talk about the control box I built as part of the Astro City overhaul.

The purpose of this was to achieve the following:

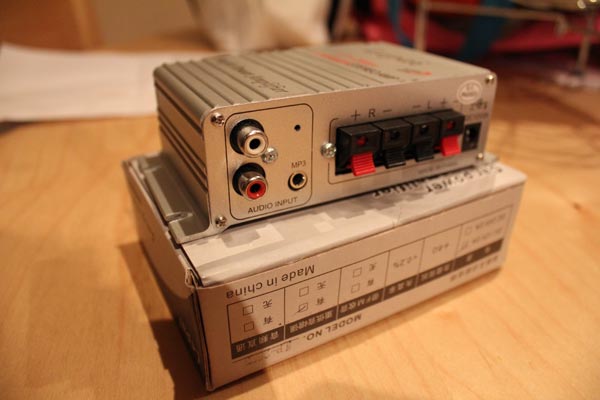
  • Switch between stereo and mono output, with the mono input spliced internally to be two-channel mono audio, all via RCA sockets
  • House a -5v output produced by a Negatron with a master switch to enable/disable the function
  • Distribute +12v to a fan with a master switch to turn on/off the fan
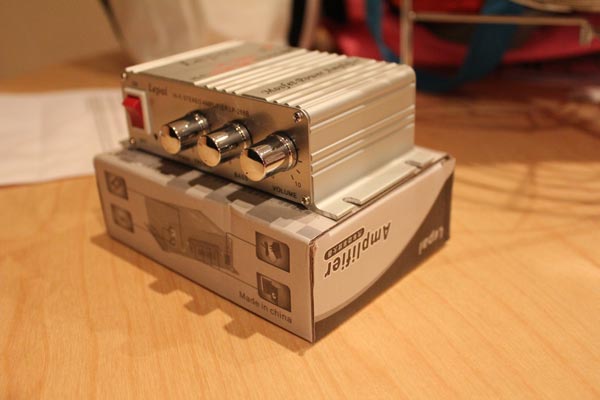
  • Distribute +12v to power the audio amplifier
  • Route a GND connection to the JAMMA harness, which ensures GND runs across all connected GND loops on the harness regardless of which power connector is hooked up to the power supply (e.g. ensures GND on the JAMMA harness even if I’m powering a NAOMI board direct from the PSU)

The other aim was for the connections to be modular and terminated with molex connections. This way I could build the control box on the bench before fitting it into the Astro City.

The first step once I gathered all the components was to mark out the holes to drill for the RCA sockets and switches:

Once that was done, I drilled out all the holes and fitted all the sockets and switches.

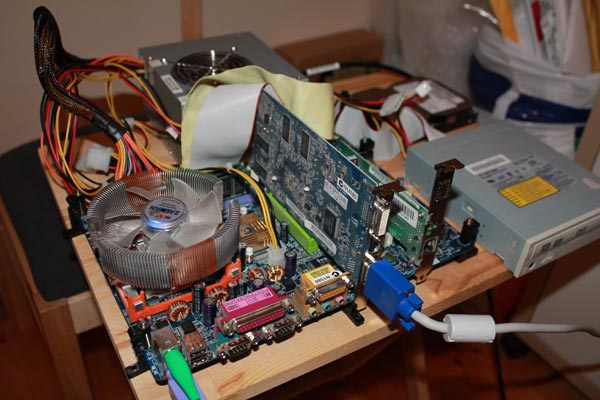
Next up, I went about wiring the audio components together using a 3PDT (3 pole, double throw) switch to go between the two sources, and brought in a master voltage cable to bring GND, +5v and +12v from one of the extra connections on the Sun PSU that weren’t used for supplying the main voltage to the PCB or harness. From there, using hot glue and some cut-down wall plugs, I created some points to screw in some project board that acted as a voltage distributor and hooked up +12v to the two switches (one for the fan, one for the Negatron), and a second piece of project board to house the Negatron. I also wired in an extra GND point to be distributed to the JAMMA harness with the +5v from the Negatron, and added those along with a GND and the +12v for the fan to a standard 4-pin molex connection as used on disk drives in a PC.

In addition, I also wired a +12v and GND to a plug to fit the power socket for the audio amplifier.

The end result came out like this:

Inside view of the box:

Inside view of the top half:

Inside view of the base:

With this completed, I can start gutting the existing cab and modifying the JAMMA harness to suit the new setup and the various molex connections as part of the project.

As noted before, posts on the refurb are being done ad-hoc, so to keep track of the whole project, just use the Sega Astro City Overhaul tag, as the whole series will be added to it over time.

New CPS2 boards arrived :)

Just a quick update – I recently took hold of two Phoenixed CPS2 boards: Street Fighter Zero 2 Alpha and Marvel Super Heroes ๐Ÿ™‚

And because it’s fun to share, here’s a shot of Marvel Super Heroes in the cab:

Sega Astro City playing MSH

๐Ÿ™‚

And yes, if you’ve been following the blog for a while, that’s a shot of the game running on my recently-completed Astro City overhaul cabinet. I just haven’t gotten around to finish blogging about the whole process yet, but that’ll start happening again in a few weeks I promise!

Overhauling the Sega Astro City โ€“ Part 7, working on the MAME PC

MAME PC on the workbench

As part of the Astro City overhaul, I wanted to recycle my old P4 hardware and use it on the Astro City. To get there, I’ve installed WinXP since I still had the license valid for this PC, along with MAME 0.128 that I had handy, and will use GameEx as the frontend. The following are the hardware specs:

CPU: Pentium 4 Socket 478 3.2ghz CPU with Hyperthreading
Motherboard: Gigabyte GA-8S648FX
GPU: Gigabyte ATi Radeon 9600XT w/256mb RAM
RAM: 1gb DDR-400
HDD: 40gb Seagate IDE HDD
Network: 10/100mbps LAN NIC

As you can see, it’s nothing terribly powerful by today’s standards, but it’ll have enough juice to run classic sprite-based games, which is what I wanted. The beauty is that with the LAN card, I can remote into the machine once the initial install’s done for maintenance and setting up programs.

To interface the PC with the cab, I’m going with a J-PAC interface, which takes the VGA and PS/2 sockets from the PC and puts them into JAMMA standard so you can simply connect the PC to the cab via the JAMMA harness. You need to push the video card into outputting a 15k signal though, which can be done on most ATi cards by using Soft15k, and it worked fine for my setup.

Special note to all J-PAC users though, be sure to set the jumpers on the J-PAC PCB to 15k – I was getting a rolling picture when I first booted and thought something was wrong with the video card or the chassis. I powered off the PC and set the jumpers as per the below, which also happens to be the configuration Ultimarc (the manufacturer) suggest you use ๐Ÿ˜›

JPAC - properly setup!

… and it worked fine after that ๐Ÿ™‚ The only other issue is audio, but since I’ll have an amp in the cab as part of the overhaul, I’ll just have a 3.5mm headphone socket to stereo RCA cable ready to plug in and run it that way. Sorted!

As noted before, posts on the refurb are being done ad-hoc, so to keep track of the whole project, just use the Sega Astro City Overhaul tag, as the whole series will be added to it over time.

Belatedly back into it!

Yeah, it’s March – apologies for the delay!

It’s been an interesting couple of months. I’ve been fighting a destabilising sickness that’s been giving me chronic bouts of nausea and dizzyness, and while there’s now a plan of attack after seeing a specialist last week, the last two and a half months have been trying, to say the least.

Anywho, the other reason for lack of updates have been because I’ve been spending most of my spare time when not feeling nauseous and dizzy working on the Astro City, and pretty much have it finished. I’ll be progressive detailing the rebuild process over the next few weeks, as I took stacks of images throughout the exercise. The end result is fantastic and definitely in-line with how I imagined it would turn out. But more on that later.

In the meantime, thanks for sticking with the blog!

Overhauling the Sega Astro City – Part 6, audio update

Well, the stereo attenuator I had planned for the Astro is no more – I can get mono attenuators, but not stereo with the level of performance I’m after. The solution? One of these:

Mini stereo amp - front

Mini stereo amp - rear

It’s a cheap mini stereo amp. In fact, it’s so compact, it’ll fit nicely inside the flip-up control panel on the Astro, so it’ll be easy to operate.

I wasn’t sold on these mini amps, but after reading some recommendations from other people who have used this same model on Aussie Arcade, I thought I’d give it a whirl. Considering the cost ($15!), I’m pretty happy with the outcome. Should work well to amplify both the mono amped output from the JAMMA harness, or the stereo line-out that needs amplifying.

As noted before, posts on the refurb are being done ad-hoc, so to keep track of the whole project, just use the Sega Astro City Overhaul tag, as the whole series will be added to it over time.