Setting goals
Yes, I’m still here 🙂 A busy January has kept me from jumping back in, so let’s see how February goes. It also means my favourite blogs (all linked on the right) have had multiple updates I need to catch up on.
In thinking how to start off this year I thought about setting goals and how that plays into my gaming habits. I often overwhelm my spare time with a multitude of things, some of which is productive, some of which isn’t. Taking on big projects should be done accordingly, without going overboard.
So, with all of this in mind, I thought I’d make a few goals for this year:
Blog:
- Update at least once a week; possibly two if I’m being ambitious 😉
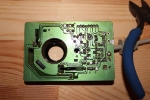
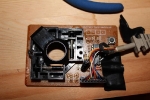
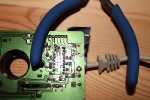
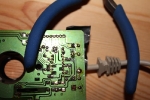
- Catch up on some tutes – I have stacks of photos from some Mega Drive 2 mods (including doing the colour mod), Famicom AV mod tute, Saturn Virtua Gun button repair mod and probably a few others I’ve forgotten.
- Start posting up gaming session images using the video capture thingie I bought ages back.
- Make some video tutes showing how to hack Phantasy Star: Generation 1 and Generation 2 on the PS2.
Gaming:
- Play through Phantasy Star 2 in Easy Mode on the Sega Ages Phantasy Star Collection on the PS2.
- Catch up on downloadable titles on PSN/XBLA.
- Play more old games, especially Famicom stuff.
- Get better at Panzer Dragoon Zwei to relive my past glory/skills 😀
Modding:
- Finish my Famicom mod (need to swap in a fresh transcoder) and fix the controllers.
- Replace the dead cart slot in my Saturn.
- S-video mod my SMS2.
Projects:
- Rebuild my gutted Taito Space Invaders cocktail cabinet that’s been gutted and sitting idle for well over 12 months.
- Finally build the huge switchbox I’ve been wanting to assemble for a few years now.
Shopping:
- Fellow retro gamer Frank might have convinced me to look into getting a Twin Fami owing to its amazing composite video output; will definitely consider it if the composite video mod on my Famicom doesn’t look comparable.
Oh, and those last two projects will be covered in full on the blog 😀
In addition, there’s also the usual domestic stuff – Wifey has been extremely patient for the last couple of years while I’ve landscaped and irrigated in the gardens, and this year it’s time to start inside the house, so the above will have to be done in conjunction with the house renovations 🙂
Hopefully by putting these down, it will encourage me to actually tackle the issues and not flounder around staring in wonder at the nerdy pile of carts and floppy disks in the nerd room instead of doing something more productive… which happens more often than it really should 😉
