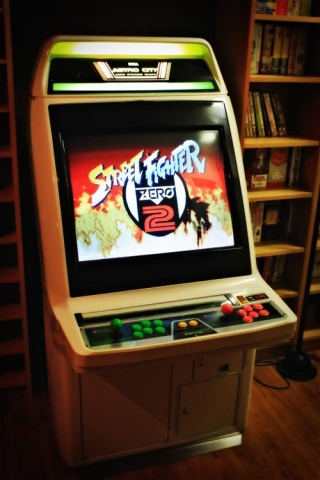
Overhauling the Sega Astro City – Part 13, final thoughts
Wow, who would have thought I’d actually get to this post, let alone finishing the project?
Well, the project was actually finished up a few months back, but I’m glad I got this post in there to round things off. This was a pretty big undertaking for me since it was my first arcade cabinet overhaul, and I have to say it went really well. The cabinet’s running beautifully and is happily playing anything I can throw at it. Once I have my Naomi IO and get around to building a converter for Model 2/Model 3 boards, I’ll be absolutely done.
So, with all this experience in mind, would I have done anything all that differently?
To be honest, not much went awry – I’m happy with the end result, and there have been no dramas with the setup. The only changes I’ll be making is that I’ll be splicing in button 4 for players 1 and 2 from the JAMMA harness into the JAMMA+ harness wiring to save swapping connections, but that’s it.
Thanks for sticking with this series of posts – if you want to check out the whole series there’s the Sega Astro City Overhaul tag, but for convenience, here’s the full listing:
- Part 1, power supplies
- Part 2, audio amplification and fans
- Part 3, monitor replacement
- Part 4, PC addition
- Part 5, roundup
- Part 6, audio update
- Part 7, working on the MAME PC
- Part 8, building a control box
- Part 9, customising the JAMMA harness
- Part 10, mounting the MAME PC
- Part 11, rewiring the cabinet
- Part 12, replacing the monitor
Big thanks to the Aussie Arcade crew for helping with some daft questions throughout the process, it’s an amazing community of enthusiasts over there!
Now with this one sorted, I’ll have to see what my next project entails!


